Hello guys. Today I'm getting into the halloween spirit and bringing you a haunted hanging sign. I have been lucky enough to get hold of Kate Crane's new designs for Caravelle Studio which I have used in this project.
Firstly I took four pieces from a tango creative mini book kit. As you can see in the first picture I have four square chipboards but in the end project I only use three. I knew that I wanted to make this project to hang so I punched hole in the top left and right corner. You will need to punch two more holes in one of the chipboard which I didn't do until the end but it can be done at this stage. I then gessoed the chipboard so this gives a base for any medium I wanted to use next. The paints I used are the from the Dina Wakely range. The colours are white, eggplant and tangerine.

I decided that for this project I wanted to do some finger painting and started off with adding white to two/three places and then adding the colour. Its best not to go too strong with the colour at first. Then you can work to a deeper colour if desired.

Then I did the same technique with the eggplant paint.

After the paint had dried a little, you can make the colour a lot darker.
So then you begin a second layer.
So then you begin a second layer.

I then used my gelli plate. I brayered the whole plate with white paint and used one of Kates new texture plates.

It didn't turn out quite as sharp as I would have liked but it gave me some texture.

I did the same with the orange paint and a different texture plate.

Kate has three new stencils out and this one is one of my favourites.

I like to use black paint around the edges which I later highlighted with white pen.

I added a bit more of the eggplant and used another stencil called noughts and crosses.

When everything was dry, I highlighted the stencil areas with a bit of pen work. I added white on the black which makes it pop and went round some of the stencil area with the white and black and a touch of the orange.

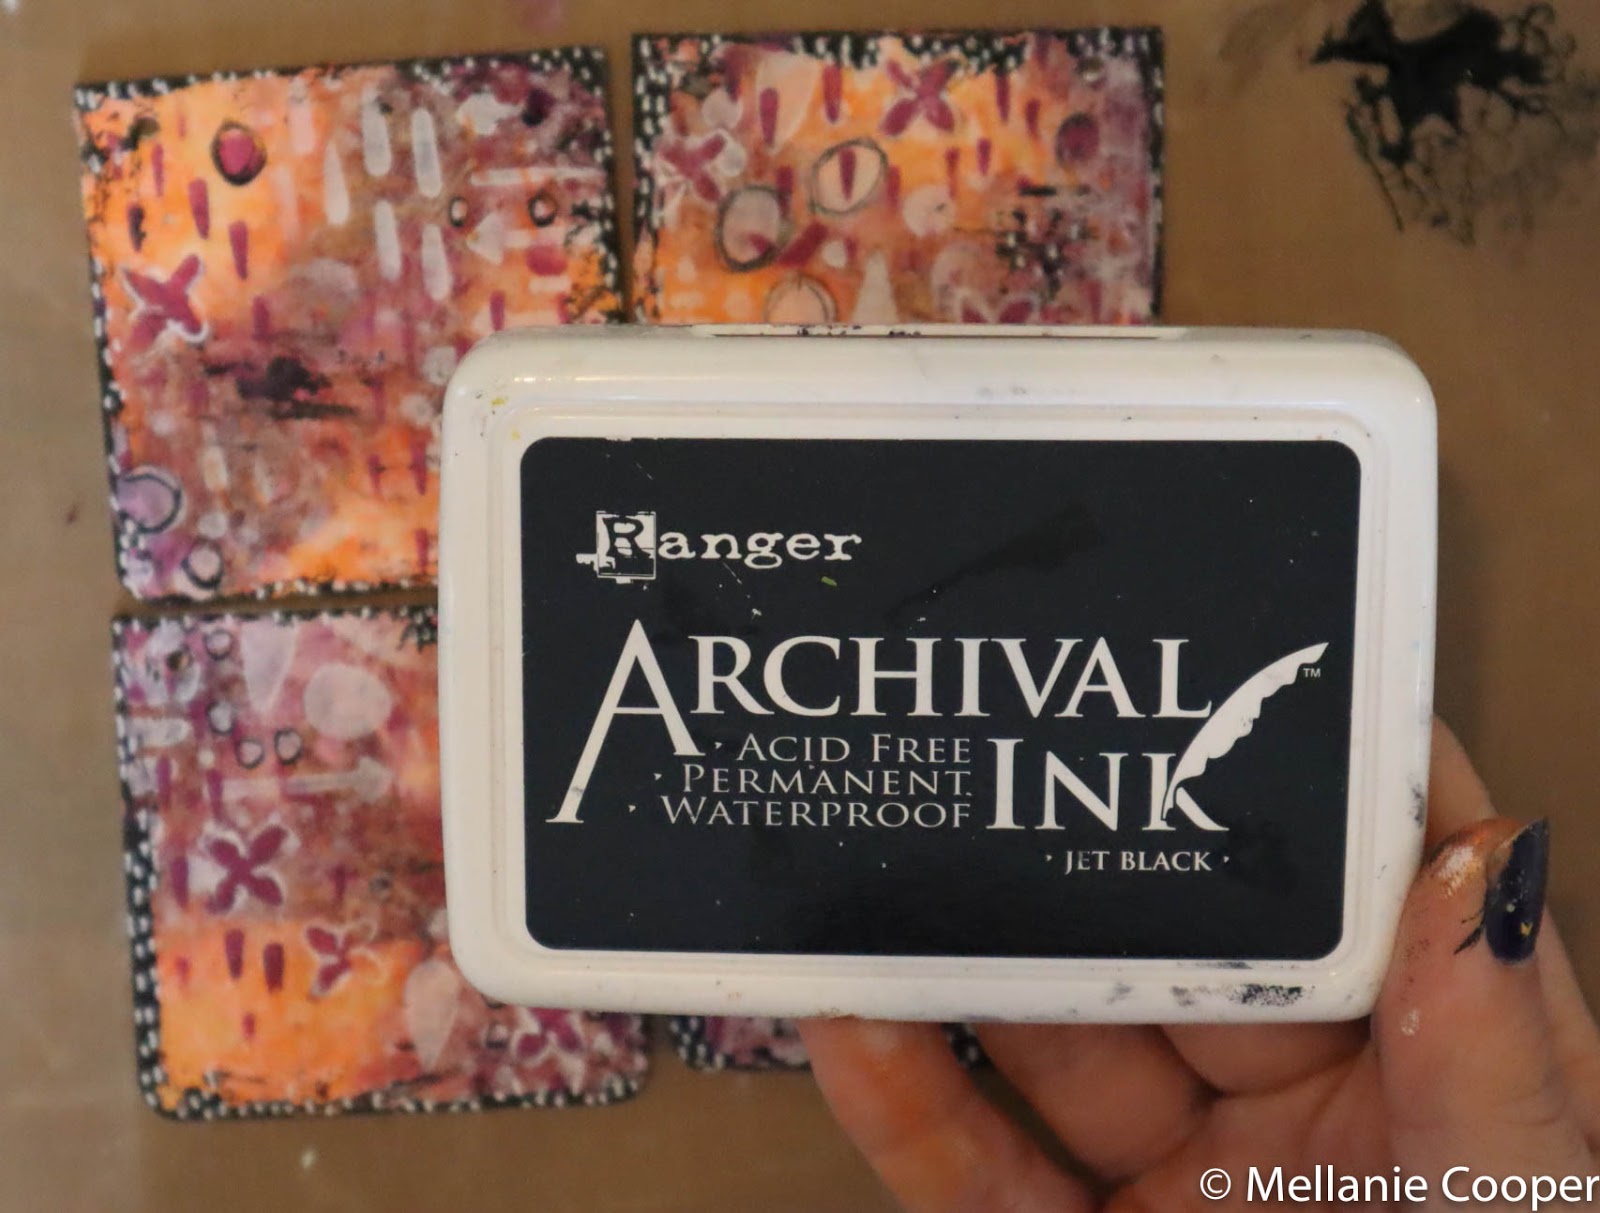
I added some stamping using the black archival ink pad and one of Kates Stampotique square stamps. This has four designs which are designed to be used for backgrounds.


Distress crayons are amazing to add a pop of colour. This has to be used lastly as the pen doesn't work on top. It will also damage them.


When I finished the background, I worked on the main image. I still had my gelli plate out so I decided to make some backgrounds for the focal images. I continued with the same colours apart from adding Ruby to the mix.


I added more texture to the background with the noughts and crosses stencil. This is the smaller size.

After the backgrounds were dry I used my Tim Holt stamp platform and stamped some images
that I wanted to use.
that I wanted to use.

I used two of Kate's new stamp sets.

I had so much fun making this that I forgot to take photos of the next steps. Once I stamped the images I wanted to use, I cut them out and placed them on my chipboard squares. I placed the chipboard squares in a vertical line. This is where I removed one of the squares. I used the red background that I had made and used the purple background for the roof. The head from one of the girl stamps was placed so it looked like it was hanging off the house.
Using my type writer and some old book paper I wrote " Trick or Treat smell my feet". This is something my nephews say at halloween and I love it. I added some more book paper at the bottom and a little at the top before I stuck everything down. I decided I wanted to make this look more 3d so I used foam tape to stick the elements down. I added black elastic to hang it.
Using my type writer and some old book paper I wrote " Trick or Treat smell my feet". This is something my nephews say at halloween and I love it. I added some more book paper at the bottom and a little at the top before I stuck everything down. I decided I wanted to make this look more 3d so I used foam tape to stick the elements down. I added black elastic to hang it.


Hope you liked my first tutorial. I would love to hear any feedback below.


